Zoho Desk Setup Guide (Part 1): 10 Steps Before You Go Live
Most support teams rush their zoho desk setup. They add agents, forward the support email, and start taking tickets — then spend the next three months fixing the mess that creates: tickets stuck in the wrong department, SLA timers counting down over weekends, agents assigned tickets while on leave, and a Help Center that still says “YourCompany” in the browser tab. A properly planned zoho desk setup takes about a day. Skipping it costs weeks.
This guide covers the ten foundational steps to complete before your first customer ticket arrives, and walks through ticket assignment rules in detail — the step most admins rush and most regret. It is aimed at anyone with admin access who is setting up Zoho Desk for the first time, or rebuilding a misconfigured one.
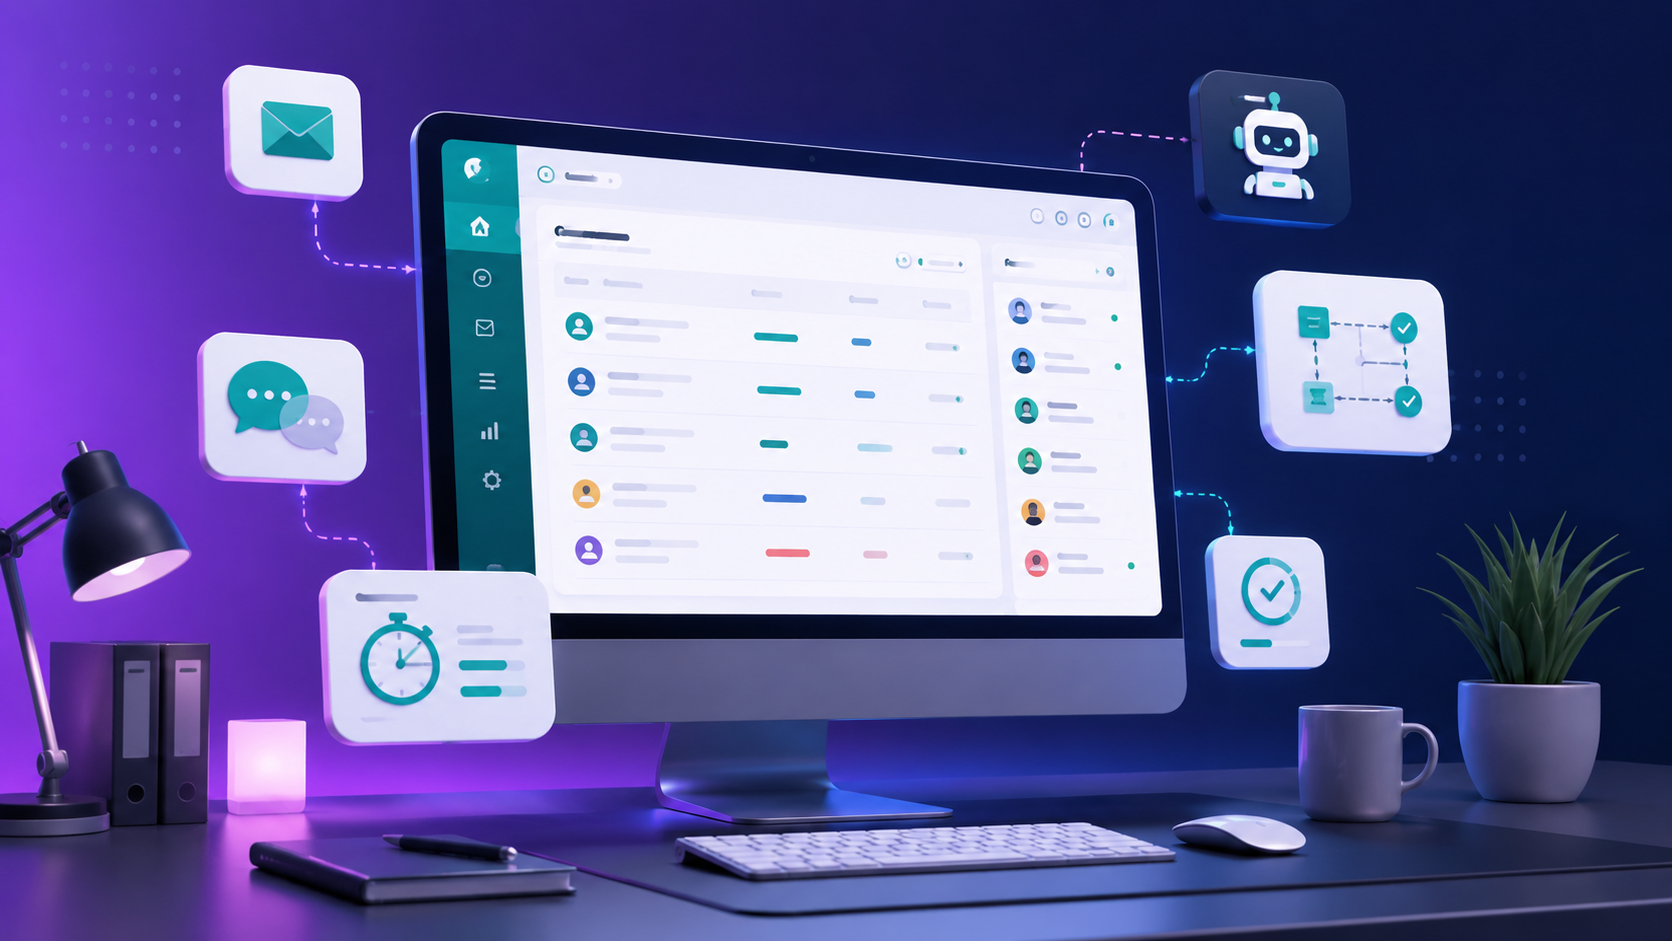
Table of Contents
The 10-Step Zoho Desk Setup: Work Through These in Order
The sequence matters. Several steps depend on earlier ones being complete. Do not skip ahead — particularly Steps 3, 6, and 7, which are prerequisites for the automations and imports that follow.
Step 1 — Rebrand Your Account
Navigate to Setup → General → Rebranding. Upload your company logo, set the portal name, and map your support domain (e.g., support.yourcompany.com). Customers see this URL in every email and Help Center page they visit, so configure it before any customer-facing settings.
Enable multi-branding only if you genuinely manage separate Help Centers for distinct brands or product lines. Setting it up unnecessarily adds configuration overhead without any operational benefit — it creates additional portals to maintain and additional places for settings to diverge from each other.
Step 2 — Create Departments
Departments are the primary organisational unit in Zoho Desk. Each department gets its own agents, automations, SLAs, and workflows. Plan your department structure before creating anything else — changing it later requires reassigning existing tickets and rebuilding every automation that references the old structure.
Base departments on your support teams, product lines, or geographic regions depending on how your business routes work. A company with three products and one unified support team does not need three departments. Consolidate where possible — add departments only when routing or SLA requirements genuinely differ between ticket types.
Step 3 — Set Work Hours and Holidays
Go to Setup → General → Business Hours. Add your organisation’s working hours and create a holiday list for the current year.
This step controls two critical things: which agents the system considers available when auto-assigning tickets, and how Zoho Desk calculates SLA due times. An SLA set to “8 business hours” counts differently depending on whether your hours are 9–5 Monday to Friday or 24/7. Configure business hours before creating any SLAs or assignment rules — SLAs built before this step uses default settings you will need to manually correct on every policy.
Step 4 — Set Up the Email Channel
Go to Setup → Channels → Email. Forward your support email address to the Zoho Desk-provided address, or configure a custom mailbox using IMAP/SMTP for full two-way sync so replies stay in both your mailbox and Desk.
Configure email before any other channel. Email is where the majority of tickets arrive, and the setup process surfaces domain authentication requirements (SPF, DKIM) that take time to propagate through DNS. Start here while you configure other settings in parallel — DNS propagation is the longest wait in the entire setup. Add additional channels (live chat, web forms, social) only after email is verified end-to-end.
Step 5 — Set Up the Help Center
Go to Setup → Channels → Help Center. Select a theme, upload your logo, and set the portal name you configured in Step 1. For advanced customisation, the Help Center accepts custom HTML and CSS under Customisation → Pages. Leave custom development for after your core configuration is complete — at this stage the goal is a functional portal with correct branding, not a fully customised one.
Step 6 — Customise Fields and Layouts
Go to Setup → Customisation → Layouts and Fields. Add custom fields, edit existing ones, and arrange ticket layouts before you import any data or invite agents to log in.
Fields must exist before imported records can populate them. Common additions at this stage include product name, customer tier, region, and custom priority levels. Changes to layouts after a data import require manual field remapping in existing tickets — in a high-volume inbox that becomes a significant manual task very quickly.
Step 7 — Define Roles, Profiles, and Teams
Three distinct concepts control access in Zoho Desk:
- Roles control data access — which tickets an agent can view and edit.
- Profiles control feature access — which settings and modules an agent can use.
- Teams group agents for assignment and automation purposes.
Configure roles and profiles before inviting agents. An agent who logs in before their profile is set inherits default permissions you will need to audit and manually correct — and in the meantime they may have access to data or settings they should not. Create teams that mirror your actual support structure (billing, technical, enterprise accounts) because assignment rules and workflows reference teams directly.
Step 8 — Enable Notification Rules
Go to Setup → Automation → Notify Rules. Enable notifications for ticket assignments, new replies, task creation, and escalations.
Enable Customer Happiness Ratings (CSAT) at this step. The rating request sends automatically after a ticket closes. Configure the delay — 24 hours after closure is a standard starting point — and the email template before you go live, not after your first wave of ticket closures. Configuring CSAT retrospectively means your earliest customers never receive a survey.
Step 9 — Configure Essential Automations
Three automations to configure before go-live, in this order:
- Ticket Assignment Rules — route incoming tickets to the right agents or teams automatically. Covered in detail in the next section.
- SLAs — define response and resolution time targets per ticket priority. SLAs require business hours (Step 3) to be fully configured first.
- Workflow Rules — trigger actions when ticket conditions are met: status changes, field updates, email alerts, and task creation.
Do not attempt to build every automation before launch. Configure the three above, go live, and refine based on actual ticket patterns. The temptation to build exhaustive automation upfront is one of the main reasons setups take months instead of days.
Step 10 — Import Your Data in the Correct Order
Go to Setup → Data Administration → Import. Import in this exact sequence to preserve relational integrity:
- Contacts
- Accounts
- Products
- Knowledge Base articles
- Tickets
- Tasks
Importing tickets before contacts creates orphaned ticket records with no linked customer — a problem that is tedious to clean up manually at scale. Zoho Desk matches imported records to existing contacts using the email address field, so ensure your export uses a consistent email format. A single domain inconsistency (user@company.com vs user@COMPANY.COM) creates duplicate contact records that require manual merging.
Assignment Rules: The Step That Defines Your Zoho Desk Setup Quality
Assignment rules automatically route incoming tickets to agents or teams based on conditions you define. A ticket with no matching rule lands in an unassigned queue — visible to no one by default unless an agent actively monitors it. In a busy inbox, unassigned tickets become the primary source of SLA breaches and escalated complaints.
Two Prerequisites Before Building Rules
- Business hours (Step 3) must be configured. The system uses business hours to determine agent availability. Without them, tickets can be assigned to agents who are offline or on annual leave.
- Teams (Step 7) must exist. Targeting teams is more resilient than targeting individual agents — when an agent leaves, the rule continues to work without any manual updates.
Criteria-Based vs Round-Robin: Choosing the Right Model
| Model | How It Works | Best For |
|---|---|---|
| Criteria-based | Routes tickets based on field values: channel, subject keywords, customer account, custom fields | Teams handling specialist tickets where routing precision matters more than even distribution |
| Round-robin | Distributes tickets evenly across a defined agent group regardless of ticket content | Teams handling uniform ticket types where workload balance is the priority |
Both models can coexist. A common pattern: criteria-based rules handle department and product routing first, then round-robin distributes within the assigned team. Build criteria-based rules first, verify routing accuracy over one week of live traffic, then layer in round-robin if workload distribution becomes uneven.
Rule Evaluation Order
Rules execute in the order they appear in the rule list. The first matching rule applies — subsequent rules do not evaluate. Place more specific rules above more general ones. A rule routing tickets with “billing error” in the subject to the Billing team must appear above a general rule routing all email tickets to a default queue.
For the current navigation path, open Setup → Automation → Assignment Rules or consult the official Zoho Desk documentation. The UI changes with product updates but the concepts and prerequisites above apply regardless.
What Comes Next After Your Zoho Desk Setup
Part 2 of this guide covers SLA configuration in depth, workflow rules, and the Help Center knowledge base — three areas where most teams under-invest during setup and pay for it in unmet response targets and repeat tickets asking the same question. Complete the ten steps above before moving to Part 2, since the automations in Part 2 build directly on the department structure, business hours, and field configuration you define here.
If you are also integrating Zoho CRM with Desk — which is strongly recommended — see our guide on Zoho CRM Analytics for the reporting layer, or start with the Zoho CRM implementation roadmap if CRM is not yet live in your organisation.
Frequently Asked Questions About Zoho Desk Setup
How long does a complete Zoho Desk setup take?
For a team with one or two departments and under 10 agents, the initial configuration across these 10 steps takes 6–8 hours when done in order without interruptions. Email DNS propagation (Step 4) is the longest single wait — start it first and configure other steps while DNS updates. A full production-ready state, including a populated knowledge base with 15 or more articles, takes longer — budget a full working week.
Can I migrate existing tickets from another helpdesk?
Yes. Zoho Desk supports CSV import for contacts and tickets (Step 10). For migrations from Zendesk, Freshdesk, or Help Scout, use the official Zoho Desk migration guides. Always import contacts before tickets — importing in the wrong order creates orphaned ticket records that require manual cleanup to link correctly.
Do I need Zoho CRM to use Zoho Desk?
No — Zoho Desk is a fully functional standalone helpdesk. The CRM integration is optional but valuable when your sales and support teams need shared customer context inside tickets. If you are running both tools, configure CRM first so account data is clean when Desk syncs to it.
What is the difference between Roles and Profiles in Zoho Desk?
Roles control which data an agent can see — for example, whether they can view tickets in other departments. Profiles control which features they can use — for example, whether they can edit SLA policies or export ticket data. A new frontline agent typically needs a restricted role (their department only) and a limited profile (no Setup access). Administrators need both a broad role and a full profile.
Share this content: