Zoho CRM Blueprint: The Ultimate Step-by-Step Guide to Sales Process Automation (2026)
If you have ever watched a sales rep skip a qualification step, close a deal without a signed proposal, or move a lead to “Won” before the demo was even booked — you already know why Zoho CRM Blueprint exists.
Table of Contents
- What Is a Zoho CRM Blueprint?
- Blueprint vs Workflow Rules: Which One Do You Need?
- Key Blueprint Concepts Before You Build
- Step-by-Step: Building Your First Zoho CRM Blueprint
- A Real-World Blueprint Example: B2B SaaS Deals
- Common Blueprint Mistakes to Avoid
- Blueprint and Zoho Flow: Better Together
- Frequently Asked Questions
- Summary
Blueprint is Zoho CRM’s process enforcement engine. It lets you define exactly how a record should move through a pipeline — which fields must be filled, who approves what, and what happens automatically at each transition. Not as a suggestion. As a requirement.
This guide walks you through every part of Blueprint from scratch: what it is, when to use it, how to build it step by step, and the real-world patterns that actually work in the field. By the end you will have a complete Blueprint running in your CRM — or a clear plan to build one.
What Is a Zoho CRM Blueprint?
A Blueprint is a visual, rules-based workflow that controls how records move between states in a module. You define the states (think: stages in a pipeline), the transitions (the actions that move a record from one state to the next), and the conditions and requirements that must be met before a transition is allowed. You can read the official Zoho CRM Blueprint documentation for a full feature reference.
The key word is allowed. Unlike a standard workflow rule — which fires automatically when a condition is met — a Blueprint creates a gated process. A rep cannot move a deal to “Proposal Sent” until the proposal document field is filled in. A manager cannot mark a ticket “Resolved” until a resolution note is logged. The CRM enforces the process, not just records it.
Blueprint works across most Zoho CRM modules: Leads, Contacts, Deals, Accounts, and any custom module you have created.
Blueprint vs Workflow Rules: Which One Do You Need?
Before building anything, it helps to know when Blueprint is the right tool and when a simpler workflow rule will do.
Use a Workflow Rule when:
- You want something to happen automatically with no human gate (send an email, update a field, create a task)
- The process is linear and does not require approval or conditional branching per rep
- You are working with a high volume of records where manual transitions would create friction
Use a Blueprint when:
- You need to enforce a sequence — records should not be able to skip steps
- Different transitions require different people, different data, or different approvals
- You want a visual representation of your process that your team can follow inside the CRM
- You need required fields per stage, not just at record creation
In practice, Blueprint and Workflow Rules work best together. Blueprint controls the gates; workflow rules fire the automations inside each transition.
Key Blueprint Concepts Before You Build
Understanding four terms will make the rest of this guide much easier.
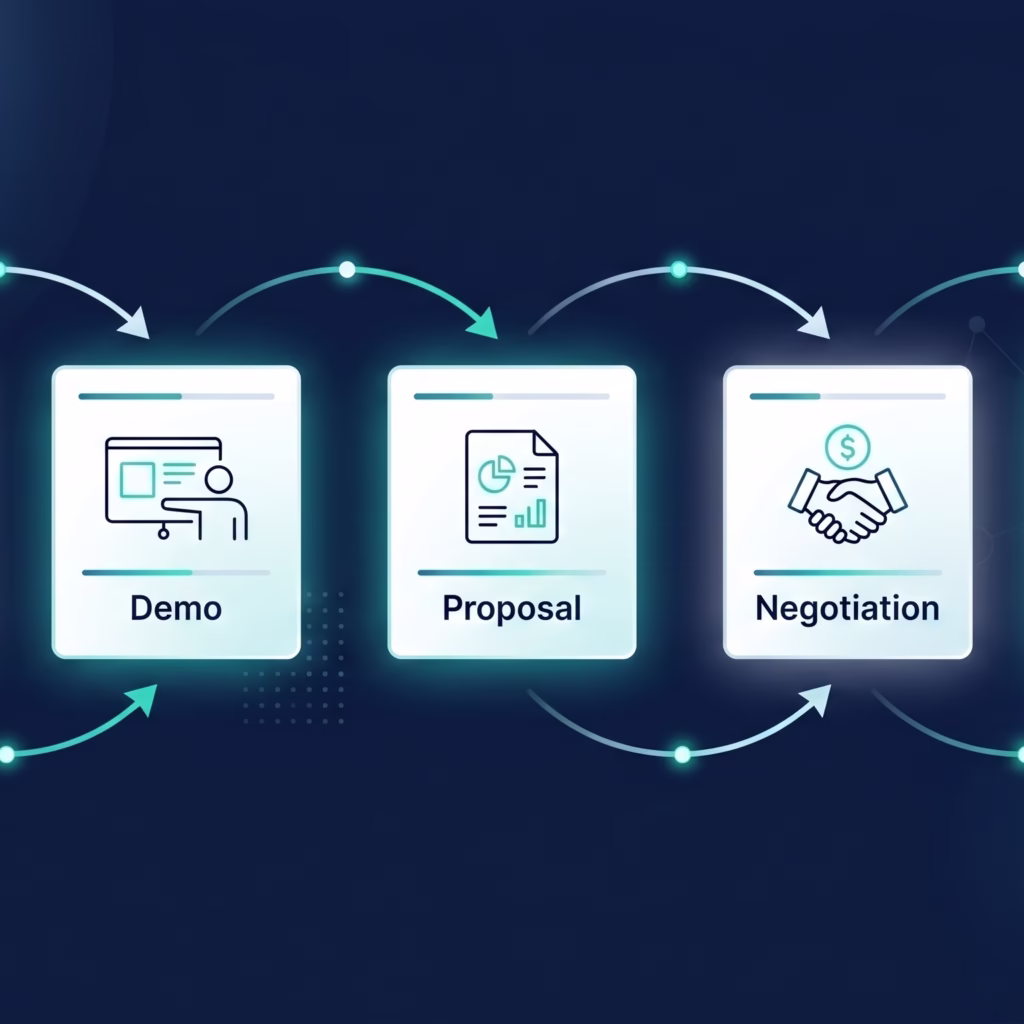
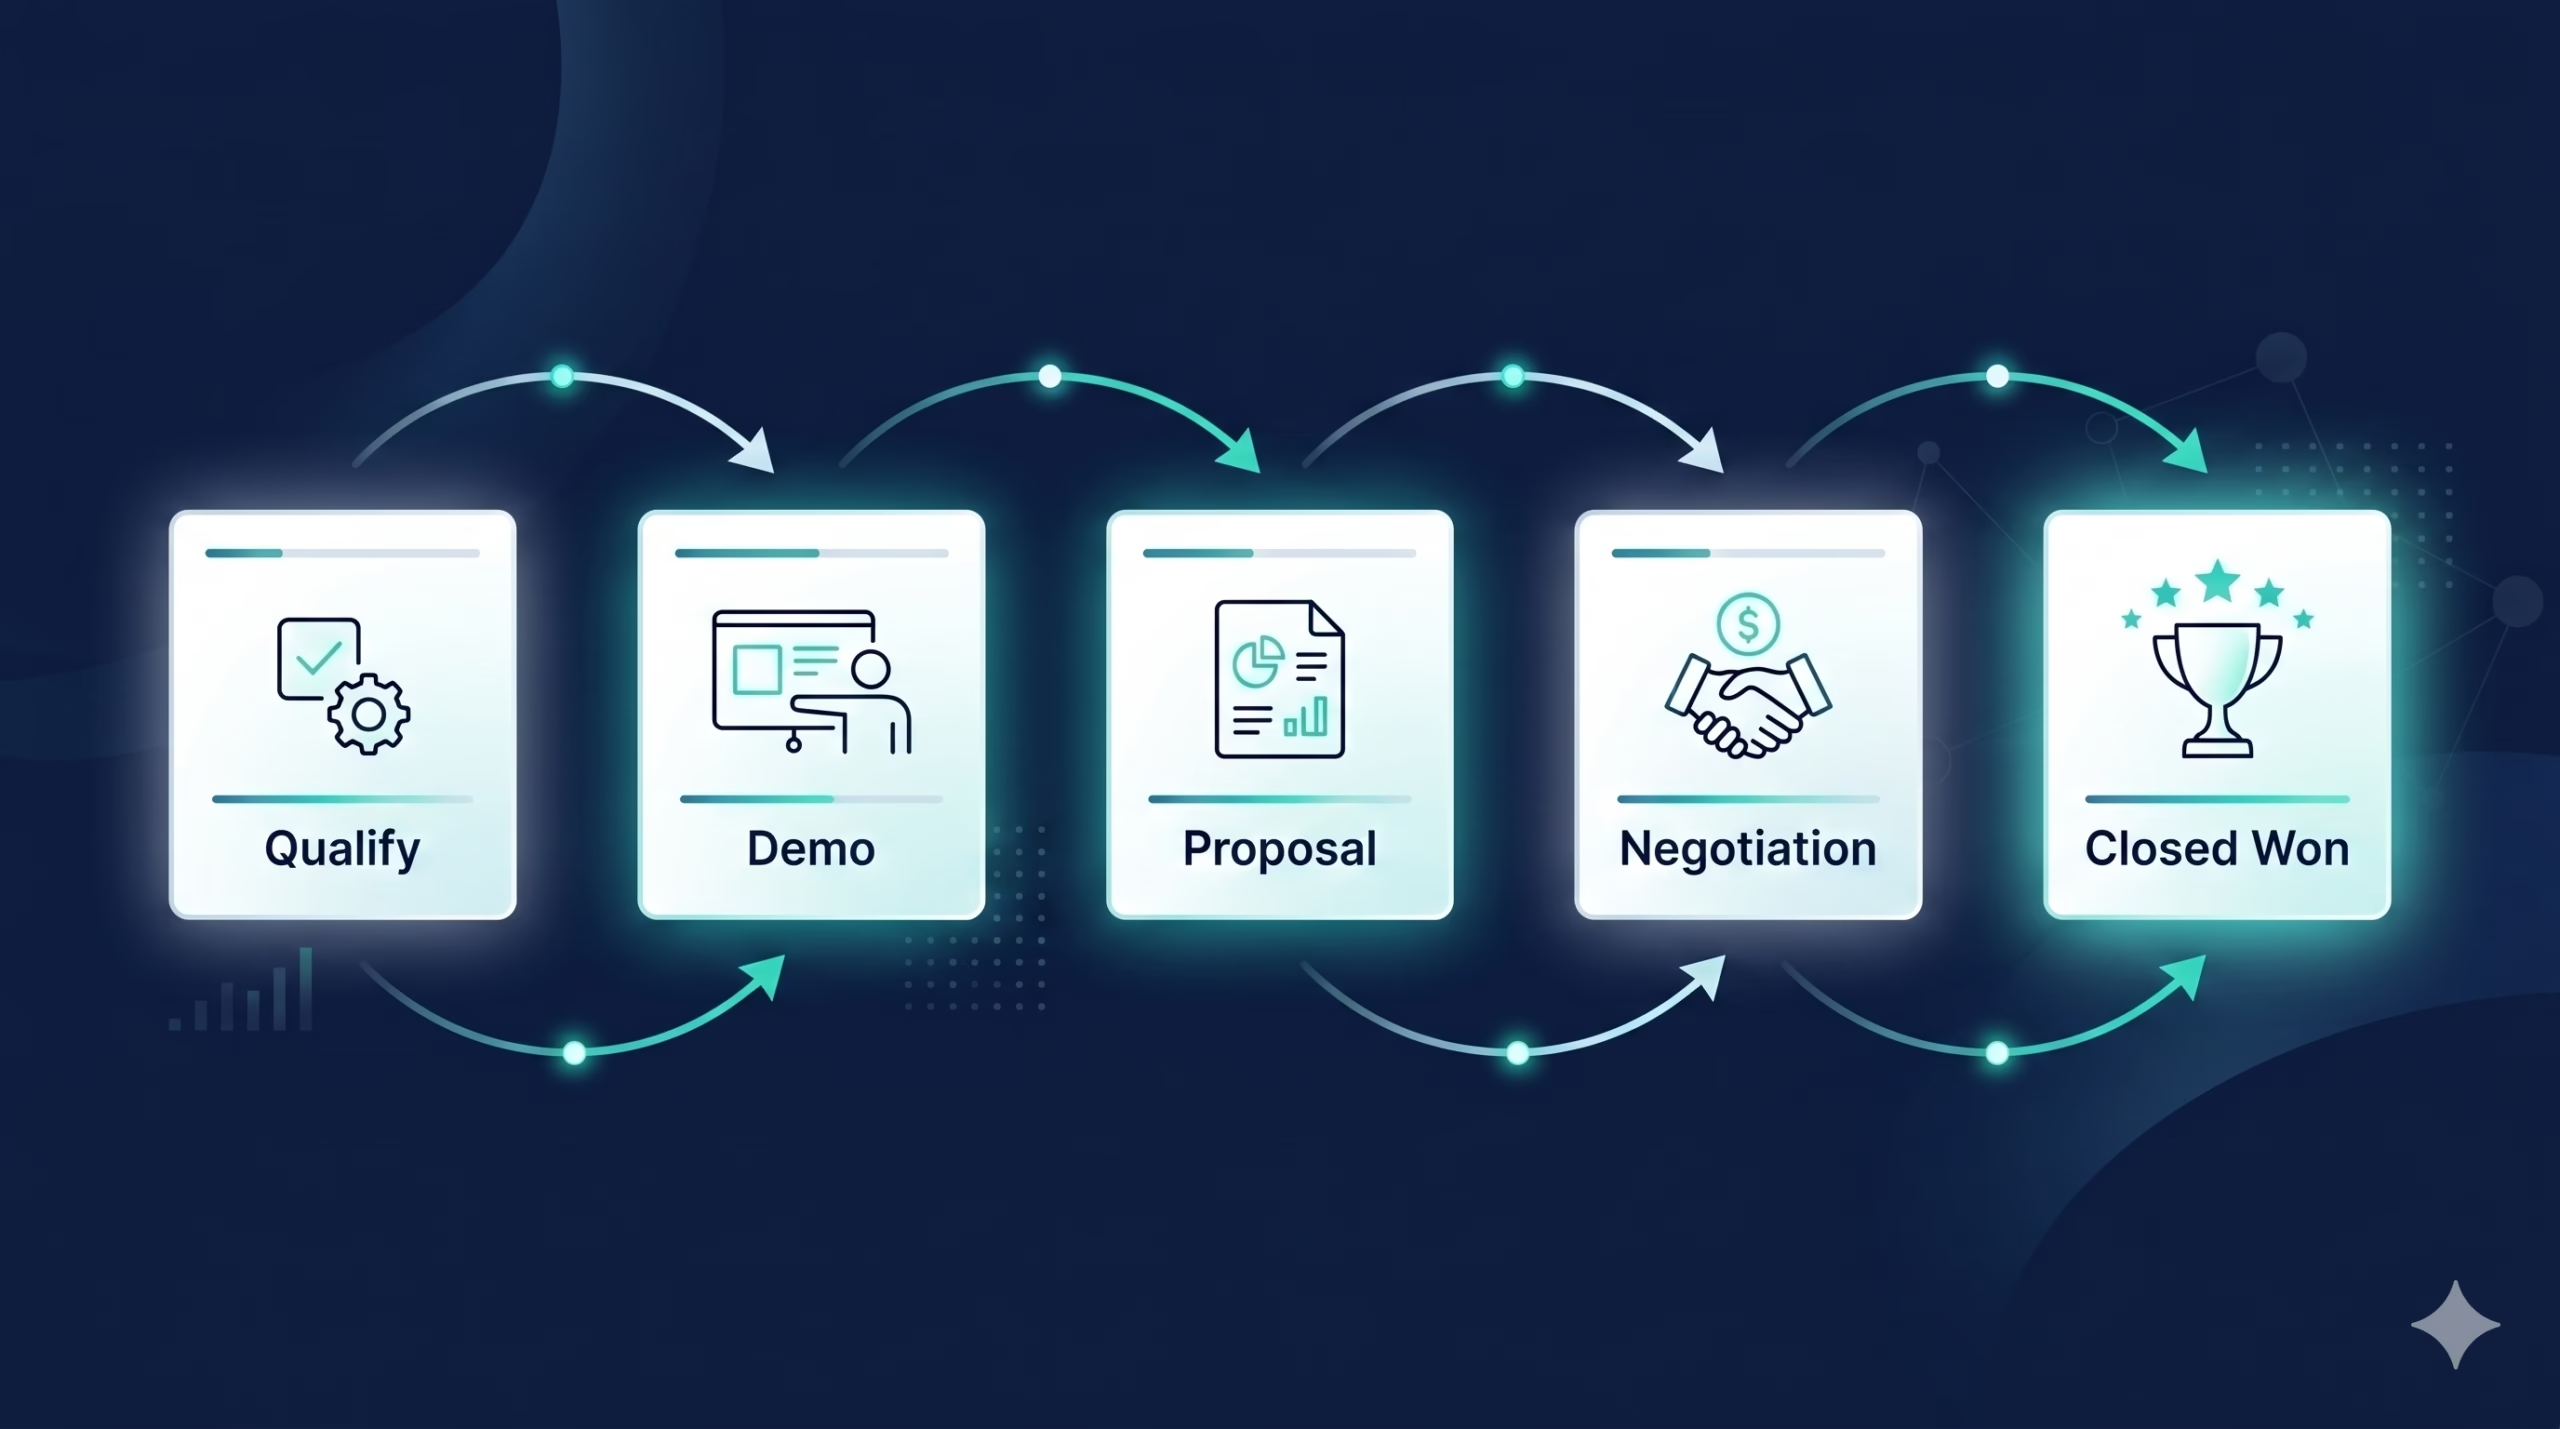
States are the stages a record can be in. In a deals pipeline, your states might be: New → Qualified → Demo Scheduled → Proposal Sent → Negotiation → Closed Won / Closed Lost.
Transitions are the actions that move a record from one state to the next. Each transition has a name (e.g., “Qualify Lead”), an owner (who can perform it), conditions (when it is allowed), and requirements (what must be true before it completes).
Before Transition Actions run the moment a rep clicks the transition button — before the record actually moves. Use these for mandatory field fills, confirmations, or approval requests.
After Transition Actions fire automatically once the transition is complete — send a notification, update a field, trigger a Zoho Flow automation, assign to a new owner.
Step-by-Step: Building Your First Zoho CRM Blueprint
Step 1 — Map Your Process on Paper First
Do not open the CRM yet. Grab a whiteboard or a plain document and write out: every state your record can be in, every transition between states, who performs each transition (a role, not a specific person), what information must exist before the transition is allowed, and what should happen automatically after the transition.
This sounds obvious, but skipping it is the most common reason Blueprints get rebuilt from scratch. The CRM will faithfully enforce whatever you configure — including a process that does not reflect reality.
A simple deals example:
New → [Sales Rep: Qualify] → Qualified
Qualified → [Sales Rep: Schedule Demo] → Demo Scheduled
Demo Scheduled → [Sales Rep: Send Proposal] → Proposal Sent
Proposal Sent → [Sales Rep or Manager: Negotiate] → Negotiation
Negotiation → [Sales Manager: Close] → Closed Won
Negotiation → [Sales Rep: Mark Lost] → Closed Lost
Step 2 — Open Blueprint in Zoho CRM
- Go to Setup (the gear icon in the top right)
- Under Automation, select Blueprint
- Click + Create Blueprint
- Choose the Module (Deals, Leads, etc.) and the Layout the Blueprint should apply to
- Give your Blueprint a name and click Create
You will land on the Blueprint canvas — a drag-and-drop visual editor.
Step 3 — Add Your States
Every Blueprint starts with two default states: Start and End. You build your process between them.
- Click + State to add a new stage
- Name it exactly as it appears in your pipeline (e.g., “Qualified”)
- Set the State Owner — the role or user responsible for records in this state
- Repeat for every state in your process map
Arrange them visually left to right to match your pipeline flow. Zoho lets you colour-code states, which helps teams scan quickly in the deal view.
Step 4 — Define Your Transitions
With your states on the canvas, draw transitions between them.
- Hover over the source state until you see an arrow handle
- Drag the arrow to the destination state
- A transition panel opens on the right — name the transition clearly (e.g., “Qualify Lead”, not just “Move”)
- Set the Transition Owner: who is allowed to trigger this move (specific user, role, or “anyone”)
- Optionally set Transition Conditions: logical rules that must be true before the transition button even appears
Name transitions as verbs. “Schedule Demo” is clearer than “Demo” to a rep who is scanning their screen quickly.
Step 5 — Add Before Transition Requirements
This is where Blueprint earns its value. Before a transition completes, you can require mandatory fields, approvals, or notes from the rep performing the transition.
- Click on a transition arrow to open its settings
- Go to the Before tab
- Click Add Requirement
- Choose field validation, approval, or note requirement
- Add as many requirements as needed — they all must be satisfied before the record moves
Practical example for the “Send Proposal” transition: require the Proposal Document field is not empty, the Decision Maker Contact is linked, and the Expected Close Date is set. A rep cannot mark a deal “Proposal Sent” unless all three conditions are met — no workarounds, no shortcuts.
Step 6 — Add After Transition Actions
Once a transition completes, you can trigger automatic actions — field updates, email notifications, task creation, webhooks, or Zoho Flow triggers. These are where Blueprint connects to the broader Zoho ecosystem.
- After “Qualify Lead”: assign the deal to a senior rep via round-robin, send an internal Slack notification via Zoho Flow
- After “Send Proposal”: create a follow-up task due in 3 days, update the “Proposal Sent Date” field
- After “Closed Won”: trigger a Zoho Flow that creates a new project in Zoho Projects and notifies the onboarding team
Step 7 — Activate and Test
- Click Save on the Blueprint canvas
- Review the visual flow — every state should have at least one incoming and one outgoing transition (except Start and End)
- Click Activate
Now go to the module and open a test record. You should see a Blueprint button or transition panel in the record detail view. Walk through every transition manually with a test record to confirm required fields, approvals, and after-actions all fire correctly before rolling out to your team.
A Real-World Blueprint Example: B2B SaaS Deals
Here is a complete Blueprint configuration for a typical B2B SaaS sales team, ready to adapt. Module: Deals.
| State | Owner | Required Before Entry |
|---|---|---|
| New | Any rep | — |
| Qualified | Assigned rep | BANT fields filled (Budget, Authority, Need, Timeline) |
| Demo Scheduled | Assigned rep | Demo date set, decision maker linked |
| Proposal Sent | Assigned rep | Proposal doc attached, deal value > $0 |
| Negotiation | Senior rep or manager | Discount approval if > 20% |
| Closed Won | Sales manager | Contract signed field checked, close date set |
| Closed Lost | Assigned rep | Lost reason field filled |
After-transition automations:
- Qualified → Demo Scheduled: create calendar invite task, notify SDR that handoff is complete
- Proposal Sent: start a 3-day follow-up task sequence
- Closed Won: trigger Zoho Flow → create Zoho Projects project → notify customer success team
- Closed Lost: trigger re-engagement sequence in Zoho Campaigns after 90 days
Common Blueprint Mistakes to Avoid
Overcomplicating the state map. If your Blueprint has more than eight or nine states, you are probably trying to encode edge cases into the main flow. Keep the Blueprint to the core process; handle exceptions with workflow rules or manual notes.
Too many mandatory fields per transition. Reps will find workarounds — entering dummy data to satisfy requirements — if transitions feel like paperwork. Be selective. Only make truly critical fields mandatory.
Not training the team before activation. Blueprint changes the interface reps see every day. A 15-minute walkthrough before go-live prevents a flood of support questions and resistance.
Forgetting to handle re-entry. What happens if a deal in “Negotiation” needs to go back to “Proposal Sent”? Define reverse transitions explicitly, or records get stuck.
No after-transition actions on the win/loss states. Closed Won and Closed Lost are your highest-value transitions. At minimum, log a timestamp field and trigger a downstream action for every deal that hits these states.
Blueprint and Zoho Flow: Better Together
Blueprint controls the gates inside Zoho CRM. Zoho Flow connects those gates to everything outside it. A practical combination: when a deal transitions to Closed Won in Blueprint, Zoho Flow can simultaneously create a new client record in Zoho Books, generate an onboarding project in Zoho Projects, post a “New customer” message to your team’s Slack channel, and add the contact to a post-sale email sequence in Zoho Campaigns.
Blueprint ensures the CRM data is clean and complete at the point of the transition. Zoho Flow takes that clean data and routes it everywhere it needs to go. Neither tool does both jobs as well as they do together. For a full walkthrough of building these cross-app automations, see How to Automate Your Sales Pipeline with Zoho Flow and CRM.
Frequently Asked Questions
Can I have more than one Blueprint per module?
Yes. You can create multiple Blueprints for the same module and assign each to a different layout. This is useful if your enterprise deals and SMB deals follow different processes — each layout gets its own Blueprint.
Does Blueprint work on mobile?
Yes. The transition buttons appear in the Zoho CRM mobile app and function the same way as on desktop, including required fields and approvals.
What happens to records created before Blueprint was activated?
Existing records enter the Blueprint at the Start state by default. You can manually move them to the correct state using a bulk update, or set a condition so Blueprint only applies to records created after a certain date.
Can I use Blueprint on custom modules?
Yes. Blueprint works on any module in Zoho CRM, including modules you created yourself via the module builder.
Is there a limit to how many Blueprints I can create?
Zoho CRM limits Blueprints per organisation based on your plan. The Enterprise plan supports up to 50 active Blueprints. Check your edition limits in Setup → Blueprint.
Can Blueprint trigger Zoho Flow automations?
Yes — use the “Integration Task” action type in the After Transition settings, or set up a Zoho Flow with a Zoho CRM record-update trigger. Both approaches work reliably.
Zoho CRM Blueprint Best Practices for Sales Teams
Getting a Zoho CRM Blueprint live is only the first step. The teams that consistently close more deals are the ones who treat Blueprint as an evolving system — not a set-and-forget configuration. Here are the practices that separate high-performing Blueprint users from the rest.
Limit the Number of Active Blueprints Per Module
Zoho CRM Blueprint supports multiple active Blueprints on a single module, but more is rarely better. Start with one Blueprint for your primary Deals pipeline and validate it fully before adding a second. Overlapping Blueprints create conflicting transition requirements that confuse reps and generate support requests instead of pipeline movement.
Use Transition Names as Action Labels, Not Status Descriptions
Most teams name transitions after the destination state: “Move to Demo” or “Send to Proposal.” A better approach is to name the transition after the action that triggers it: “Schedule Demo” or “Send Proposal.” This keeps your Blueprint read as a task list for reps, not a status chart for managers — and that distinction drives adoption.
Gate Expensive States with Before-Transition Mandatory Fields
Every state that commits time or money — sending a proposal, scheduling an enterprise demo, escalating to legal — should require key fields before the transition is allowed. Common mandatory fields include Budget Confirmed, Decision Maker Identified, and Expected Close Date. These gates prevent premature stage advancement and keep your forecast data trustworthy.
Review Blueprint Performance Monthly
Zoho CRM’s Reports module lets you track how long deals spend in each Blueprint state. If more than 20% of deals stall in the same state for more than two weeks, that state is either too broad or its entry criteria need tightening. Monthly Blueprint reviews are how elite sales operations teams continuously compress their average sales cycle without adding headcount.
Summary
Zoho CRM Blueprint is the difference between a CRM that records what your team did and a CRM that guides what your team does. Once it is in place, no deal moves forward without the data and approvals your process requires — which means cleaner pipeline data, fewer exceptions, and a sales process that actually scales.
The build itself is straightforward once your process is mapped: add states, connect transitions, set requirements, configure after-actions, activate. The hard work is the thinking before you open the canvas.
If you are still setting up the broader Zoho CRM environment before tackling Blueprint, start with the Zoho CRM Implementation Guide — it covers the full rollout sequence from goal-setting through to automation. And if you are evaluating whether the plan tier you are on includes Blueprint, the Zoho CRM Pricing 2026 breakdown has the full feature-by-edition comparison. For advanced customisation that complements Blueprint, see Advanced Zoho CRM Customization.
Published by Dhiraj Sajagure — Zoho practitioner and Senior Manager at Octfis Techno LLP. Have a Blueprint question or a configuration edge case? Drop it in the comments below.
Share this content: